
Other than that, I have started restoration on a pair of KLH-17s that a roommate gave me for free. From what I have heard they are a good speaker to restore and the restoration has only cost me about $20(and that's a high estimate). When I received the speakers, only one worked. One speaker sat at about 8ohms (which is proper) while the other one sat at around 3 or 4ohms and would not produce audio at all. In order to even use these speakers, this restoration was necessary. The restoration includes replacing the four capacitors in each speaker and sealing the speaker surrounds with acrylic caulk because they are cloth, not rubber. I am following the restoration procedure posted here: Renovation of my KLH 17's is complete However, I think that this guy's speakers may be a bit younger than mine because he has different looking capacitors in his. The crossover network is still the same though.
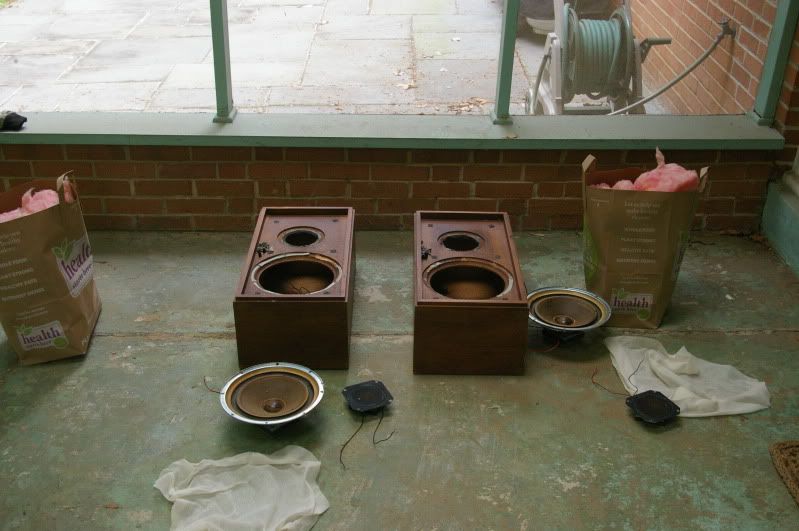
I'm doing the restoration outside on my porch because the speakers are filled with fiberglass insulation that you can see in the shopping bags in the above picture. Sadly though, I'm sure the speakers are not enjoying the Maryland summer.
Taking a look into the speakers at the crossover network, it appears that one of the speakers may have been tinkered with before:
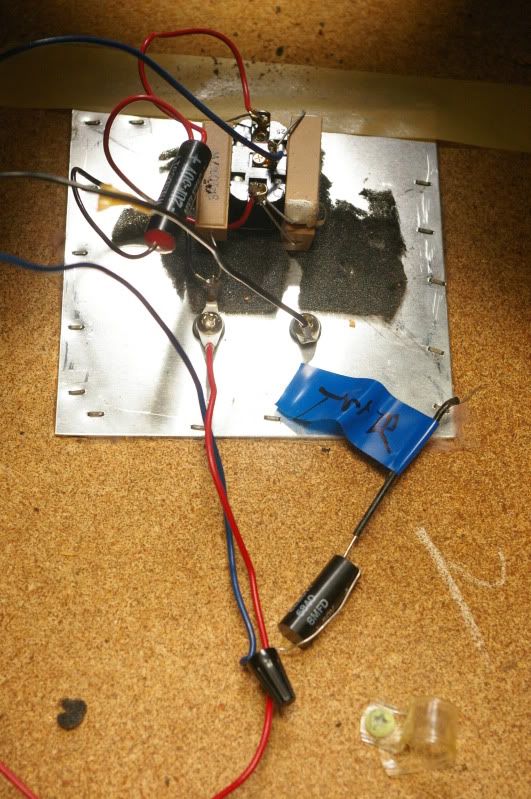 | 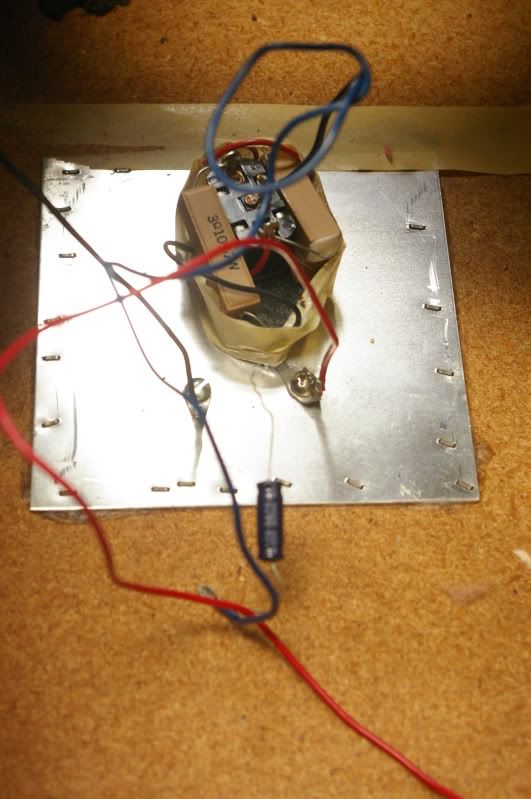 |
The speaker on the right has had one of its capacitors changed out. The original capacitor in the speaker was a dual-type. I'll be replacing them with four individual capacitors. The previous restorer replaced the dual 4uF cap that was tied in parallel with itself with an 8uF one, But it's a cheap little 16v electrolytic. Hopefully paying a lot more for higher voltage caps will help it sound better. One can only hope. The electronics aren't that complex and I'm not too worried about them.
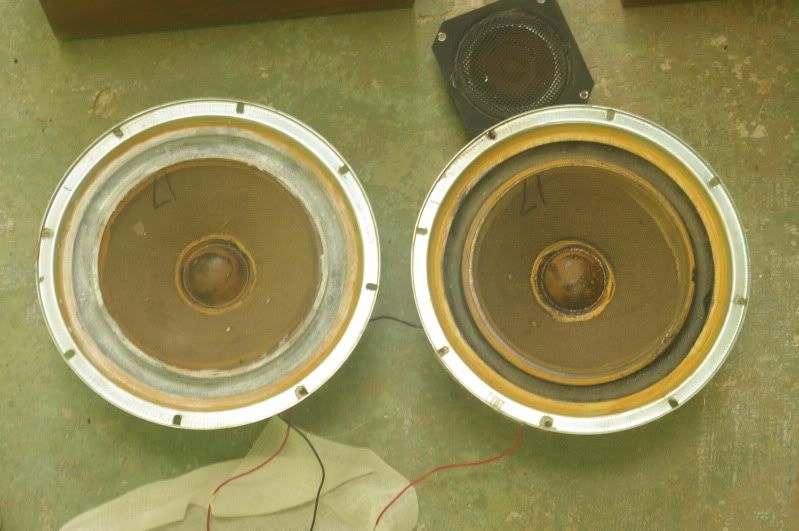
As for the sealing, it wasn't too difficult. However, I was just squeaking by at the end because I just about ran out of sealant. I had made a mixture of acrylic adhesive caulk and water (about 1:2) that I applied with a glue brush (as instructed in the restoration post). This actually went very well. I'm not entirely sure that the speakers needed it, but a datestamp on the inside told me that the speakers were manufactured in 1966, so maybe it was time.
A before and after shot of the speakers while I was sealing them (after/before):
I'm still waiting for the parts to come in, but for now there isn't anything to do, it really is a simple little project. I plan to use these as the control room monitors for when I record. They are probably the best speakers I own, the only others being a pair of home-made ones that I bring with me to school. I don't know the response of them though and they have little bottom to them. Those I'll use as the studio monitors for talkback and playback to the band.
No comments:
Post a Comment